A Guide to Removing Gel Manicures at Home
Though gel manicures last longer and chip less than traditional manicures, removing the gel can often be a nightmare. Especially if you have to do it yourself, at home.
If you’re not sure what to do about your pre-quarantine gel manicure that’s beginning to peel, Amy Lin, founder of sundays studio – a non-toxic, wellness-focused nail salon in Hudson Yards – kindly shared her at-home gel removal techniques that take under 20 minutes to do (5 minutes prep and 10-15 minutes removal). You can watch the full video here or follow the steps below. (sundays is also offering Related residents 20% off during this difficult time; check the Related Connect app for more details).
What you don’t want to do even though it might be very tempting? Peel the gel off, as doing so can damage the protective layers of your nails.
What you'll need
• Nail buffer
• Nail file
• A wooden stick 10 cotton pads/ cotton balls (or five big ones, cut in half)
• Acetone-based nail polish remover (other types do not remove gel)
• Hydrating base coat or after gel healing base coat
• Aluminum foil, cut into 10 rectangles large enough to wrap all the way around each finger (roughly two by four inches)
• Ziploc bag (optional; you can use this to remove the waste and minimize the smell)
Let’s get started with the gel manicure removal!
Step 1: Use your nail file to gently file the top coat of your gel manicure. This will save you a lot of time in the nail polish removing process. Be sure to be very gentle when filing!
Step 2: Tear your cotton ball or cotton pad in half or so that it is a big enough to cover your whole nail bed. Pour the polish remover onto the cotton ball piece, but don’t completely soak it. Place the cotton ball on top of your nail, then wrap the foil paper over your fingertip to keep the cotton in place. Do that for all your nails and leave it on for 10-15 minutes.
Step 3: After 10-15 minutes, remove the foil with the cotton ball and dispose of all the waste into the Ziploc bag and close tightly. Pro tip: After removing the gel, your nails might feel dehydrated. Washing your hands can help with the dryness, but don’t worry – this is just temporary.
Step 4: Polish your nails with either the hydrating base coat or the after gel healing base coat. This is an important step for those who often get gel nail manicures, as their nails tend to be thinner. Gel unfortunately doesn’t allow your nails to breathe. Our after gel healing base coat helps strengthen your nails and keeps them healthy.
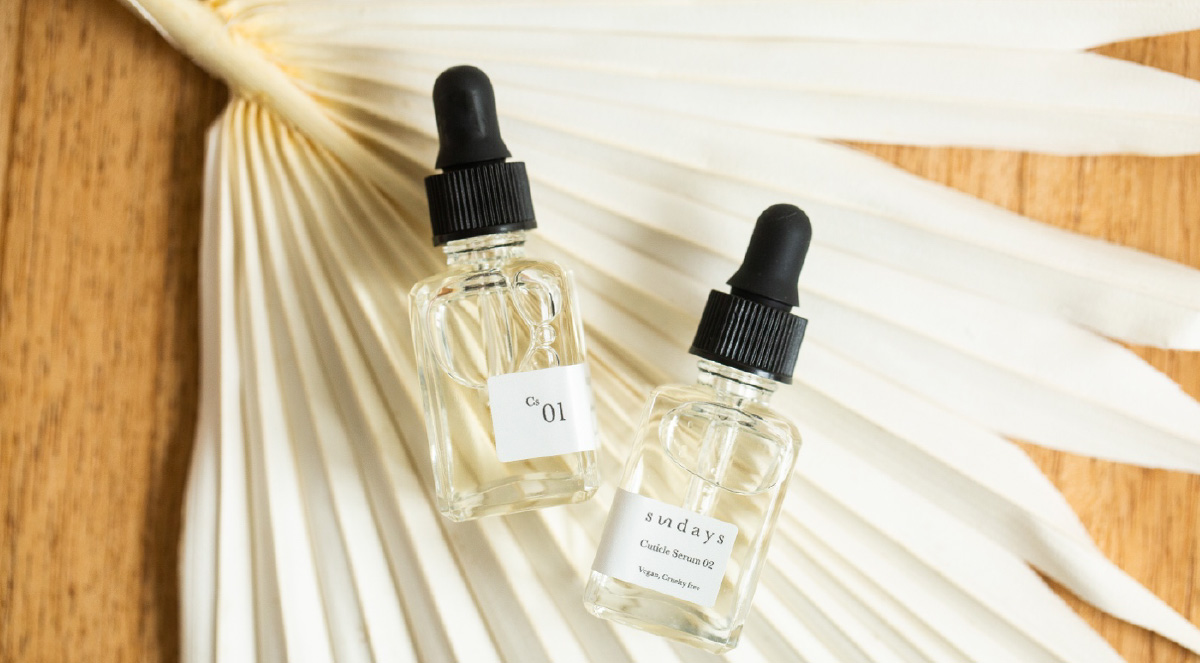
Pro tip: You might also want to use oil or hand lotion after your gel removal. We just launched our new cuticle serums CS.01 and CS.02. We recommend using the anti-bacterial CS.01 cuticle serum for those who tend to bite their nails and the hydrating CS.02 cuticle serum for those who need that extra hydration (it’s non-greasy and lightweight so it goes perfectly with hand lotion).
To make it even easier to do gel removal, sundays just released a non-toxic gel removal kit, which makes it easy to practice at-home wellness.

If you have any questions or requests for more at-home nail care tips, don’t be a stranger and reach out at info@dearsundays.com. We wish you a safe and fun at-home nail care!
The Related Life is written and produced by Related Luxury Rentals. Be sure to follow us on Facebook, Twitter and Instagram for the latest events, news and announcements in your area, and tag us for a chance to be featured @therelatedlife and #therelatedlife.